


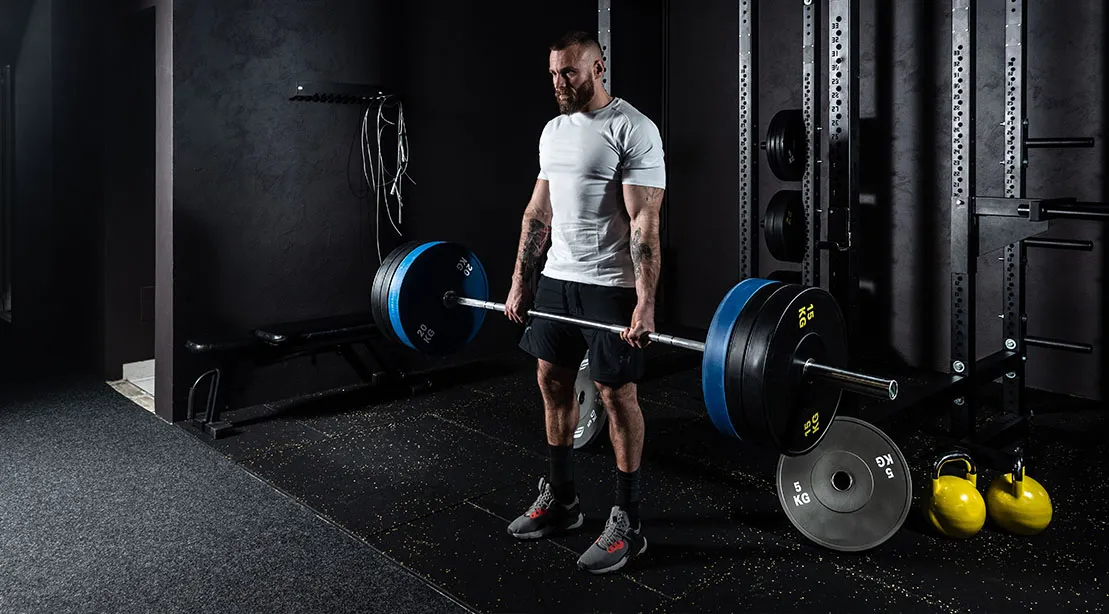
Many lifters share a common bad habit. Rushing the setup. It’s understandable because who doesn’t want to get to the good stuff sooner? But skipping the setup can be the difference between a successful set and a sucky one.
A classic example is the Romanian deadlift.
The RDL isn’t just bending over with a barbell and hoping the glutes and hamstrings grow. If your feet aren’t rooted, your lats and core aren’t engaged, or the bar drifts away from your quads, your lower back might be the only muscle getting a pump.
That’s why your RDL starts before gripping the barbell.
The following pre-lift checklist will dial in your rack height, stance, grip, knee position, lat tension, and brace so you’re dialed in from the start. At first, these steps will take time, but with enough repetition, they’ll become automatic—and your glutes and hamstrings will thank you for it.
What Are the 7 Steps for a Perfect Romanian Deadlift Setup?
Before you get to the gripping and ripping part, nail down these seven steps for a better RDL.
Step 1: Set the Rack Height Right
Set the J-hooks so you can unrack the bar with a slight bend in your knees, and pick up the barbell without shrugging it off the hooks or rising onto your toes. You also don’t want the bar so low that every set begins with a partial deadlift. Find your sweet spot before you begin.
- Set the bar around hip height.
- Get centered before unracking.
- Stand tall to clear the J-hooks without yanking the bar out.
- Take two or three steps back.
Internal cue: Stand tall into the bar.
External cue: Clear the hooks.
Coach’s Tip: Don’t make the unrack harder than it needs to be. Save your energy for the lift.
Step 2: Set Your Stance and Root Your Feet
Start with your feet about hip-width apart, toes pointing forward, with a slight turnout if preferred. From there, create a tripod foot by grounding your heel, the base of your big toe, and the base of your little toe.
- Stand with your feet hip-width apart.
- Point your toes mostly forward or slightly outward.
- Feel your tripod foot.
- Create tension by screwing your feet into the floor without moving them.
- Maintain that foot position throughout.
Internal cue: Feel the whole foot.
External cue: Screw your feet into the floor.
Coach’s Tip: Rooting is successful when you feel tension in your outer glutes.

Step 3: Set Your Grip
Your grip creates tension through your forearms, upper arms, and upper back, giving you a better connection to the bar. Start with a double-overhand grip with your hands just outside your thighs. The bar should sit low in your hands with your wrists neutral. Once that is set, squeeze the bar.
- Grip the bar just outside your thighs.
- Start with a double-overhand grip.
- Wrap your thumbs around the bar.
- Keep your wrists neutral.
- Squeeze the bar.
Internal cue: Crush the bar.
External cue: Leave fingerprints in the bar.
Coach’s Tip: It’s not against the law to use straps for assistance because you’re training the glutes and hamstrings, not your grip strength.
Step 4: Soften Your Knees
A slight bend or softening of the knees sets up the hinge and prevents the RDL from becoming a stiff-legged deadlift. If the knees continue to bend during the hinge, you’re turning it into a squat, but if they’re locked, you may make it harder to hinge.
- Maintain a small amount of knee flexion throughout the setup and the set.
- Don’t keep bending your knees as the bar gets lower.
Internal cue: Soft knees, hips back.
External cue: Let your knees come forward just a touch.
Coach’s Tip: Watch your knees from the side; they should soften at the start but shouldn’t keep traveling forward as the bar descends.
Step 5: Lock In Your Back
Now connect the barbell to your upper body. Your lats play a big role in keeping the bar close to your legs rather than letting it drift forward. Pull your shoulders down away from your ears and create tension through your upper back before you begin.
- Keep your shoulders down and away from your ears.
- Keep your arms long.
- Squeeze your armpits to engage your lats.
- Maintain tension in your upper back.
Internal cue: Squeeze your armpits.
External cue: Bend the bar around your legs.
Coach’s Tip: Light tension is enough, since you need to save your energy for the good part.
Step 6: Brace
If the core isn’t engaged, you’re missing the point. Before the hinge, breathe into your belly, sides, and lower back, then brace. Focus on creating core tension rather than sucking in your stomach. Once you’ve braced, keep your ribs stacked over your pelvis and maintain that position throughout the set.
- Take a breath and expand your belly, sides, and lower back.
- Brace your abs around that breath.
- Keep your ribs stacked over your pelvis.
Internal cue: Brace 360 degrees.
External cue: Make your torso a cylinder.
Coach’s Tip: Breathe in through the nose with the mouth closed, then brace.

Step 7: Set Your Head and Neck Position
Don’t stare straight ahead throughout the entire rep. It’s fine at the start, but as you hinge, keeping your gaze forward can cause you to crane your neck upward. The opposite—tucking your chin hard to your chest—isn’t necessary either. Instead, allow your gaze to follow your torso.
- Start with your head stacked over your shoulders.
- Keep your chin in a comfortable, neutral position.
- Allow your gaze to drop as your torso moves forward.
- Maintain the same head-to-torso relationship throughout the rep.
Internal cue: Neck long.
External cue: Keep your head between your shoulders.
Coach’s Tip: Awareness is key. If you’re admiring yourself in the mirror too much, stop.
The Green Light Checklist
Run through this checklist before the first rep:
- Feet ready: hip-width apart, with your whole foot rooted to the floor.
- Grip set: hands just outside your thighs, bar squeezed.
- Knees soft: a slight knee bend, then maintain it as you hinge.
- Lats engaged: shoulders down, armpits squeezed, and the bar close to your thighs.
- Core braced: 360-degree pressure around your midsection.
- Ribs stacked: ribs over pelvis.
- Head neutral: neck aligned with your torso.
When those boxes are checked, you’ve got the green light to hinge.
Common RDL Mistakes with Fixes
Once you have the hinge down, the RDL is simple enough, but simple doesn’t mean foolproof. The following mistakes can reduce tension where you need it most.
Letting the Bar Drift
The farther the bar gets from your legs, the less leverage you have because it’s harder to maintain a strong hinge position, and it places more stress on your lower back. Even a slight deviation is a form killer.
The Fix: Squeeze your armpits, keep your arms long, and keep the bar close the entire rep.
Squatting Your RDL
Too much knee bend turns your hip hinge into something resembling a squat. The bar shifts farther from your center of gravity, stressing your low back and taking muscle-building tension away from the hamstrings.
The Fix: Unlock your knees before you hinge, then maintain that amount of knee bend as you hinge. Remember the cue: “Unlock your knees, then freeze them.”
Rushing the Eccentric
The lowering phase, where the hamstrings lengthen and you feel that loaded stretch, is where the RDL earns its keep. Dropping too fast keeps the hamstrings from loading under tension.
The Fix: What’s the hurry? Count to three on the way down to own the descent rather than rushing it.
Finishing With Your Lower Back
Stand tall and contract the glutes to finish the RDL. Hyperextending your lower back at lockout often happens because the lifter doesn’t understand the difference between hip and lower back extension. That stops now.
The Fix: Drive your hips forward and squeeze your glutes until you’re standing tall. Once your hips and knees are extended and your ribs are stacked over your pelvis, stop and reset for the next rep.
The Final Hinge
The RDL isn’t about squeezing as much range of motion as possible out of each rep. It’s about creating tension in your hamstrings and glutes while maintaining a strong hip hinge from start to finish.
That starts before your hips move.
Set your feet and grip. Unlock your knees. Engage your lats. Brace your core. Then push your hips backward while keeping the bar close and maintaining the position you worked hard to create.
Set the tension, own the hinge, and watch your glutes and hamstrings grow.
